6 AMAZING THINGS DONE WITH GOOGLE ID
Apart
from using our Google ID for e-mails, Google+, and YouTube it can be used in
other amazing ways:-
FOR
COMPUTERS: To listen to the music we have uploaded to the
Drive, we must visit www.drivetunes.org
and sign in with
our Google account. Allow Drivetunes
to access your Google Drive by clicking Accept. The website automatically detects
and lists all MP3 and MP4 files, letting you play your tunes from web-enabled
computers.
FOR
SMARTPHONES: apps
like CloudBeats
Lite or GDrive (for iOS) or CloudAround (for Android
devices).
2.
MAKE OUR MAPS: this
feature is useful to give directions to a new destination. The GOOGLE MAPS
service lets us create custom maps, add way points symbols and colors; we can
also annotate it with text; and snapshots for visual aids, and more…
HOW
TO CREATE A MAP: sign
into GoogleMaps and click My
Places > Create Map. Maps Engine
Lite will open in a new tab. This can be used to plot our route.
There are 4 tools – to select items, add markers, draw lines, and add
directions. The map editor also includes a handy undo-redo option. Once we have
done the needful inclusions in the map hit the Share button to send it via
e-mail, Google+, Facebook or Twitter.
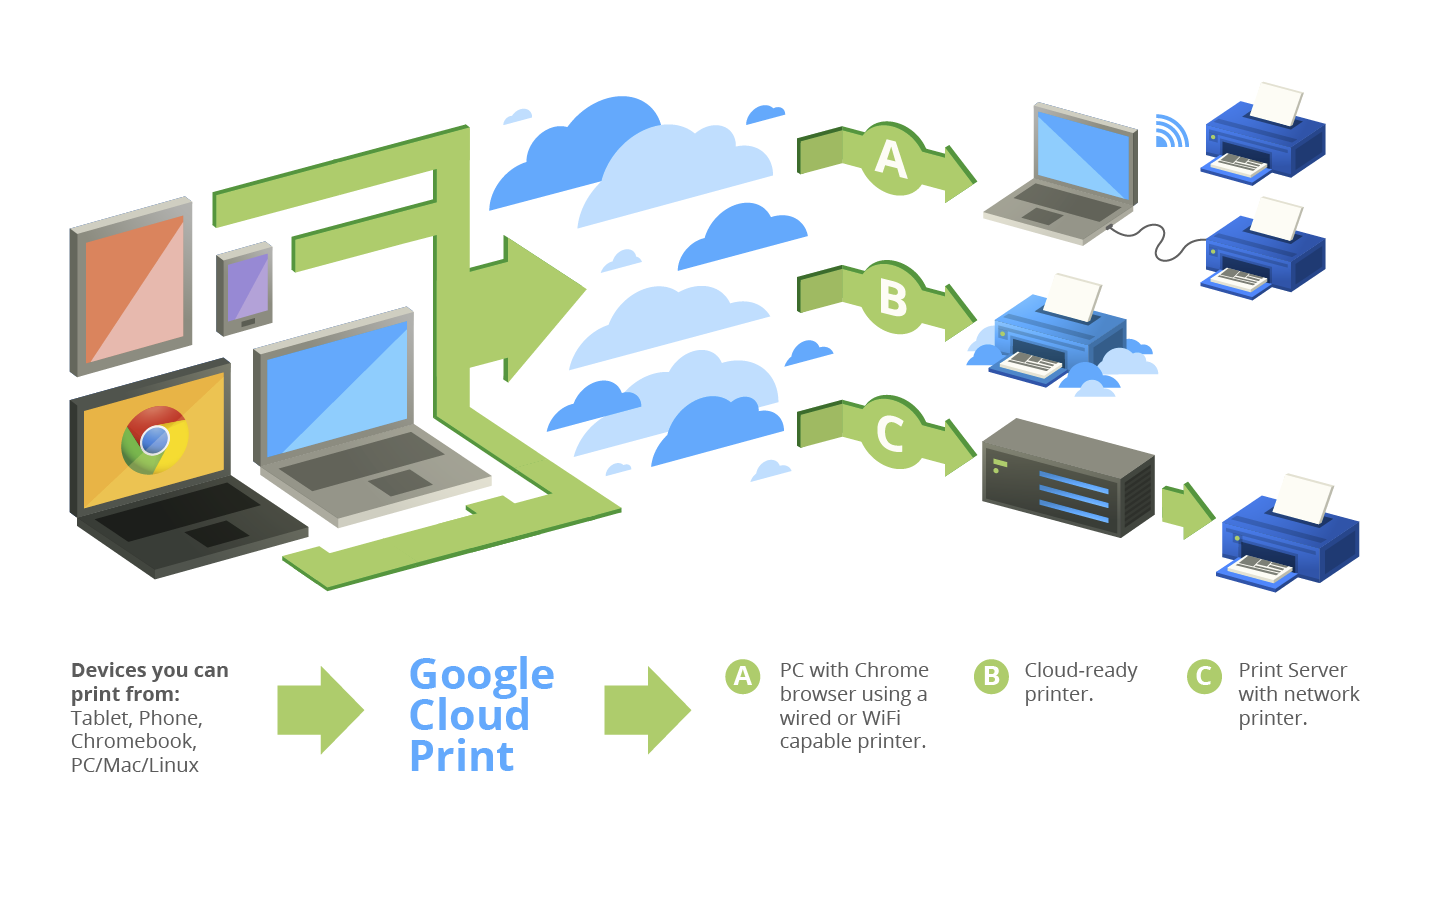
3. PRINT FROM ANYWHERE: we can use the chrome browser and Google
account to send a printout to our home printer from anywhere in the world.
 TO
SET UP ON YOUR HOME COMPUTER: first the printer must be ON. Go to
the Chrome
browser, and click the menu button and select Settings. Click the Show advanced
settings and link. Scroll down the Google Cloud Print section and sign in to
enable the service. Select our printer in the list, and click Add Printers, and
then we are ready to go.
TO
PRINT FROM A REMOTE COMPUTER: after
ensuring that your printer and the PC connected to are switched ON. Sing into
Chrome with your Google account, go to the menu and select the PRINT option, in
which select under the Destination option and click on Change. This selects our
printer, then hit Print.
This is
helpful to take prints of the contents in your browser. But if you want to
print a .doc file, you will need to open it in a cloud service like Google
Drive.
5.
RUN YOUR OWN SHOW ON YOUTUBE: With
the help of a Google account, webcam and a good microphone, we can start our
own channel on YOUTUBE.
To do this:
 6.
YOU WILL NEVER RUN OUT OF SPACE FOR PHOTOS AND VIDEOS: how much ever space we have seems
not enough for the photos and videos we shoot because they occupy mass memory. But
the good news is that we can use our Google account to back these up.
HOW DO
WE DO IT: install Google+ app for the Android or iOS Smartphone, open the apps
and click on the Settings icon and enable Auto Backup. But make sure to set the
auto-backup to initiate only over a Wi-Fi connection cause using the mobile network
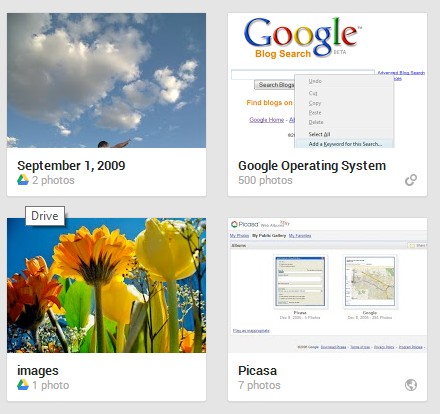
might incur extra charges. The latest versions of Picasa (v3.9) can also be
used. The data stored in this manner will be safe from deletion forever.


